
Test Driving UIPageViewController implementation
A UIPageViewController is a very popular element in iOS Projects. It’s commonly seen in onboarding screens, but it has a ton of other uses.
Me and my friend Mauro Marques are using one for the onboarding screen of our app Hira, and while I was developing the beautiful screens desgined by him, I decided to register the proccess of implementing it using a Test Driven Development approach.
Just like the name suggests, the entire development is driven by tests. The cycle consists of four steps:
- Write a test that is going to fail - (Red)
- Make the test pass - (Green)
- Refactor the code
- Repeat
We’ll begin with an empty project, with an unit test target. I am not going to use storyboards, so I’ll just set the basic configuration to my project by deleting the storyboard. In case you need some help, there’s a quick video, in which Sean Allen demonstrates how to do it here.
Now, off to our test driven development. The first and simplest assertion we can make is that the PageViewController is initialised with no controllers (pages).
Since UIPageViewController has a viewControllers: Array<UIViewController> property, we can assert that this property is empty.
Soon enough, the compiler warns us, because we still don’t have a PageViewController. This means we are in the red state (tests not passing or code not compiling), which means we can write production code.
Let’s satisfy the compiler by adding the simplest piece of code.
The errors are gone, and when we run our tests they pass, because by default this property is empty.
Since we don’t have anything to refactor, let’s move on to the next test. According to my use case, I need the .transitionStyle to be of .scroll type. So, let’s test it. Add the following code to PageViewControllerTests.
If we run the tests now, they will not pass, because we still need to set this property. Add the following code to PageViewController.
We are using the initialiser to set the property. If we run the tests they will pass.
Alright, moving on with the .navigationOrientation. In this case I’ll need it .horizontal. Add the following code to PageViewControllerTests.
If we run it now, it won’t pass, because in the initialiser we added previously was setting the property to .vertical. So let’s change it to .horizontal. Now the tests are passing.
As a refactoring measure, we can create a helper method in PageViewControllerTests in order to create the SUT, or the system under test. By using a helper method, we concentrate the SUT generation to one single place, and if we need to change or add something in the future, we just need to do it in that single place.
Now, replace PageViewController() by makeSUT() in the previous tests.
Moving on, we need to assert that when the view loads, the method setViewControllers(_:direction:animated:completion:) is set with the initial view controller. Add this code to PageViewControllerTests
Here we are testing that given at least one controller, when the view is loaded, the array of viewControllers is equal to the first item of this array.
The code will not compile because we need to make some changes to the makeSUT() method. Replace the existing method by this following one:
Here we are passing the controllers to be used as pages into the PageViewController initialiser.
So, we also need to change the init() in PageViewController to:
Also, we need to declare the property:
Now the code compiles, but the tests are not passing. And that is because we did not implement the method yet. So, add this code to PageViewController.
Here, in viewDidLoad() we check if there’s a first item in the pages array. If so, we call setViewControllers(_:direction:animated:completion:) with it. Let’s run the tests, and they pass!
We can make some refactoring to make our code easier to read, so let’s do it. Replace the init() and requiredInit() by this code:
We simplified it a bit using a convenience initialiser. Now, moving on, let’s test the dataSource.
We need to make sure that when the user swipes right, the next view controller is called and presented. There is a UIPageViewDataSource method that handles this, called pageViewController(_:viewControllerAfter:).
Let’s add the following test:
So, given two controllers, when our pageViewController is swiped (which triggers the data source method), we expect that the controller resulting from the pageViewController(_:viewControllerAfter:) controller1 is the controller2.
The tests will not compile yet, because we didn’t implement the dataSource in our production side.
Let’s add the dataSource = self to viewDidLoad() in PageViewController class.
Now we can make an extension to conform to the UIPageViewControllerDataSource, like so:
The simplest thing to make the tests pass is to return the second item in the array. But it won’t cover all cases, and let’s see why by adding the next test.
Add this to PageViewControllerTests:
So it’s basic the same setup, but this time we are adding one more controller, and making sure that when pageViewController(_:viewControllerAfter:) is triggered two times in a row, we get the third controller. The test fails because we hardcoded a value in our production side. Let’s fix this!
Add the following code to PageViewController.pageViewController(_:viewControllerAfter:):
Here we are getting the index of current the view controller, adding one to it and return the controller for the new index. Cool, if we run the tests, they pass. Can you spot something to refactor?
Yes, let’s do it. We are going to add an UIPageViewController extension to the same file as PageViewControllerTests, with the following code:
This way, replace occurrences of sut.dataSource?.pageViewController(sut, viewControllerAfter: controller1) by sut.controllerAfter(controller1).
Alright, we covered the situation of getting the next index, but we are still missing a scenario. When the maximum number of pages is reached, what should happen?
According to my use case, when the last controller is reached, if the user swipes right, nothing should happen, so let’s test it.
Add this to PageViewControllerTests class:
So we are asserting that when the maximum number of pages is reached, if an attempt to swipe is made, the method returns nil, otherwise we could have a runtime index out of range error.
By running the tests, we see that this one doesn’t pass. But to make it pass its simple, we add the following code just before the return in pageViewController(_:viewControllerAfter:):
Alright, tests are passing again. Moving on!
We are going to test the opposite scenario now, which is the swipe left in this case. We’ll start by adding this test:
And let’s also add the extension for the controllerBefore helper method:
So, when the page controller is displaying the first page, if a left swipe is attempted, the method should return nil. If we run, it passes, because of the hardcoded nil we returned when we implemented the UIPageViewControllerDataSource protocol.
Let’s move on to the next test.
It’s pretty much the same situation we tested with pageViewController(_:viewControllerAfter:), but this time, we are expecting to have the previous controller. If we run the tests, this one fails, so let’s implement our code.
In PageViewController.pageViewController(_:viewControllerBefore:), replace the return nil by the following:
Again, we get the index of current controller, subtract one, check if it’s not smaller then zero, and return the corresponding controller to the index. Let’s run the tests and see that they pass!
Now, just to make sure we have the correct behaviour, let’s add the following test:
So, if we are in the third controller, and perform swipe left twice, we should get the first controller, correct? Yes, and our tests are showing us that!
Now we tested the basic structure, we’ll move on to the UIPageControl. We need a page control, and we can get it for ‘free’.
Apple’s documentation says:
If both of the methods in ‘Supporting a Page Indicator’ are implemented and the page view controller’s transition style is UIPageViewController.TransitionStyle.scroll, a page indicator is visible.
Right, our transition style is .scroll, so we need to implement the methods:
presentationCount(for:)presentationIndex(for:)
Let’s test that we are setting the correct presentation count.
So when we initialise the PageViewController with a certain number of pages, we expect the presentationCount to be equal to the number of pages. And we check that by calling a dataSource method presentationCount(for:).
If we run it, it fails. Because we didn’t implement it yet. So let’s fix this by adding it to our UIPageViewControllerDataSource extension:
We are returning the number of items in pages array, because we want the number of indicators in UIPageControl to be the same as the number of pages. We run the tests, and they pass. Nice!
Now, the other required method for setting the UIPageControl is presentationIndex(for:). Let’s add the following test:
Now we expect that when we initialise PageViewController, that presentationIndex is set to zero, i.e. the first page. We run the tests and this one fails, because we don’t have that method yet. Add this to the dataSource extension:
So, when we run the tests, they pass. Great!
We added a hardcoded ‘0’ there, but it may be better to replace it by a variable, just in case we may need to use set a value in the future. Go on and declare the variable at the top of the file:
And replace the ‘0’ by pageControlIndex.
Great, we implemented the tests, they are passing, now it’s time to see our pageViewController in action. Add the following method to your SceneDelegate class:
And add this to scene(_ scene: UIScene, willConnectTo session: UISceneSession, options connectionOptions: UIScene.ConnectionOptions):
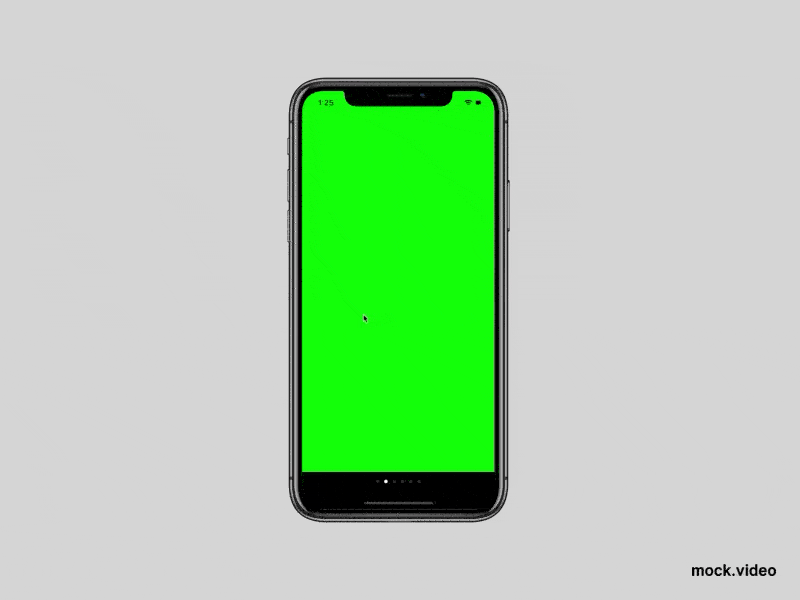
Since we are not using storyboards, this code prepares the window, and set’s a rootViewController to it. Our rootViewController, in this case, is our PageViewController, with 6 pages, each one with a different background color.
Hit command + R and let’s see it in action!
Very nice, isn’t it? Now that the behaviour is covered, it’s just a matter of setting a nice UI and some cool animations and deliver a nice page control.
If you want you can check the full code here.
This was a glimpse of TDD. It’s a really powerful methodology to write maintainable and reliable code.
Thanks for reading, if you have any questions leave it in the comments below!